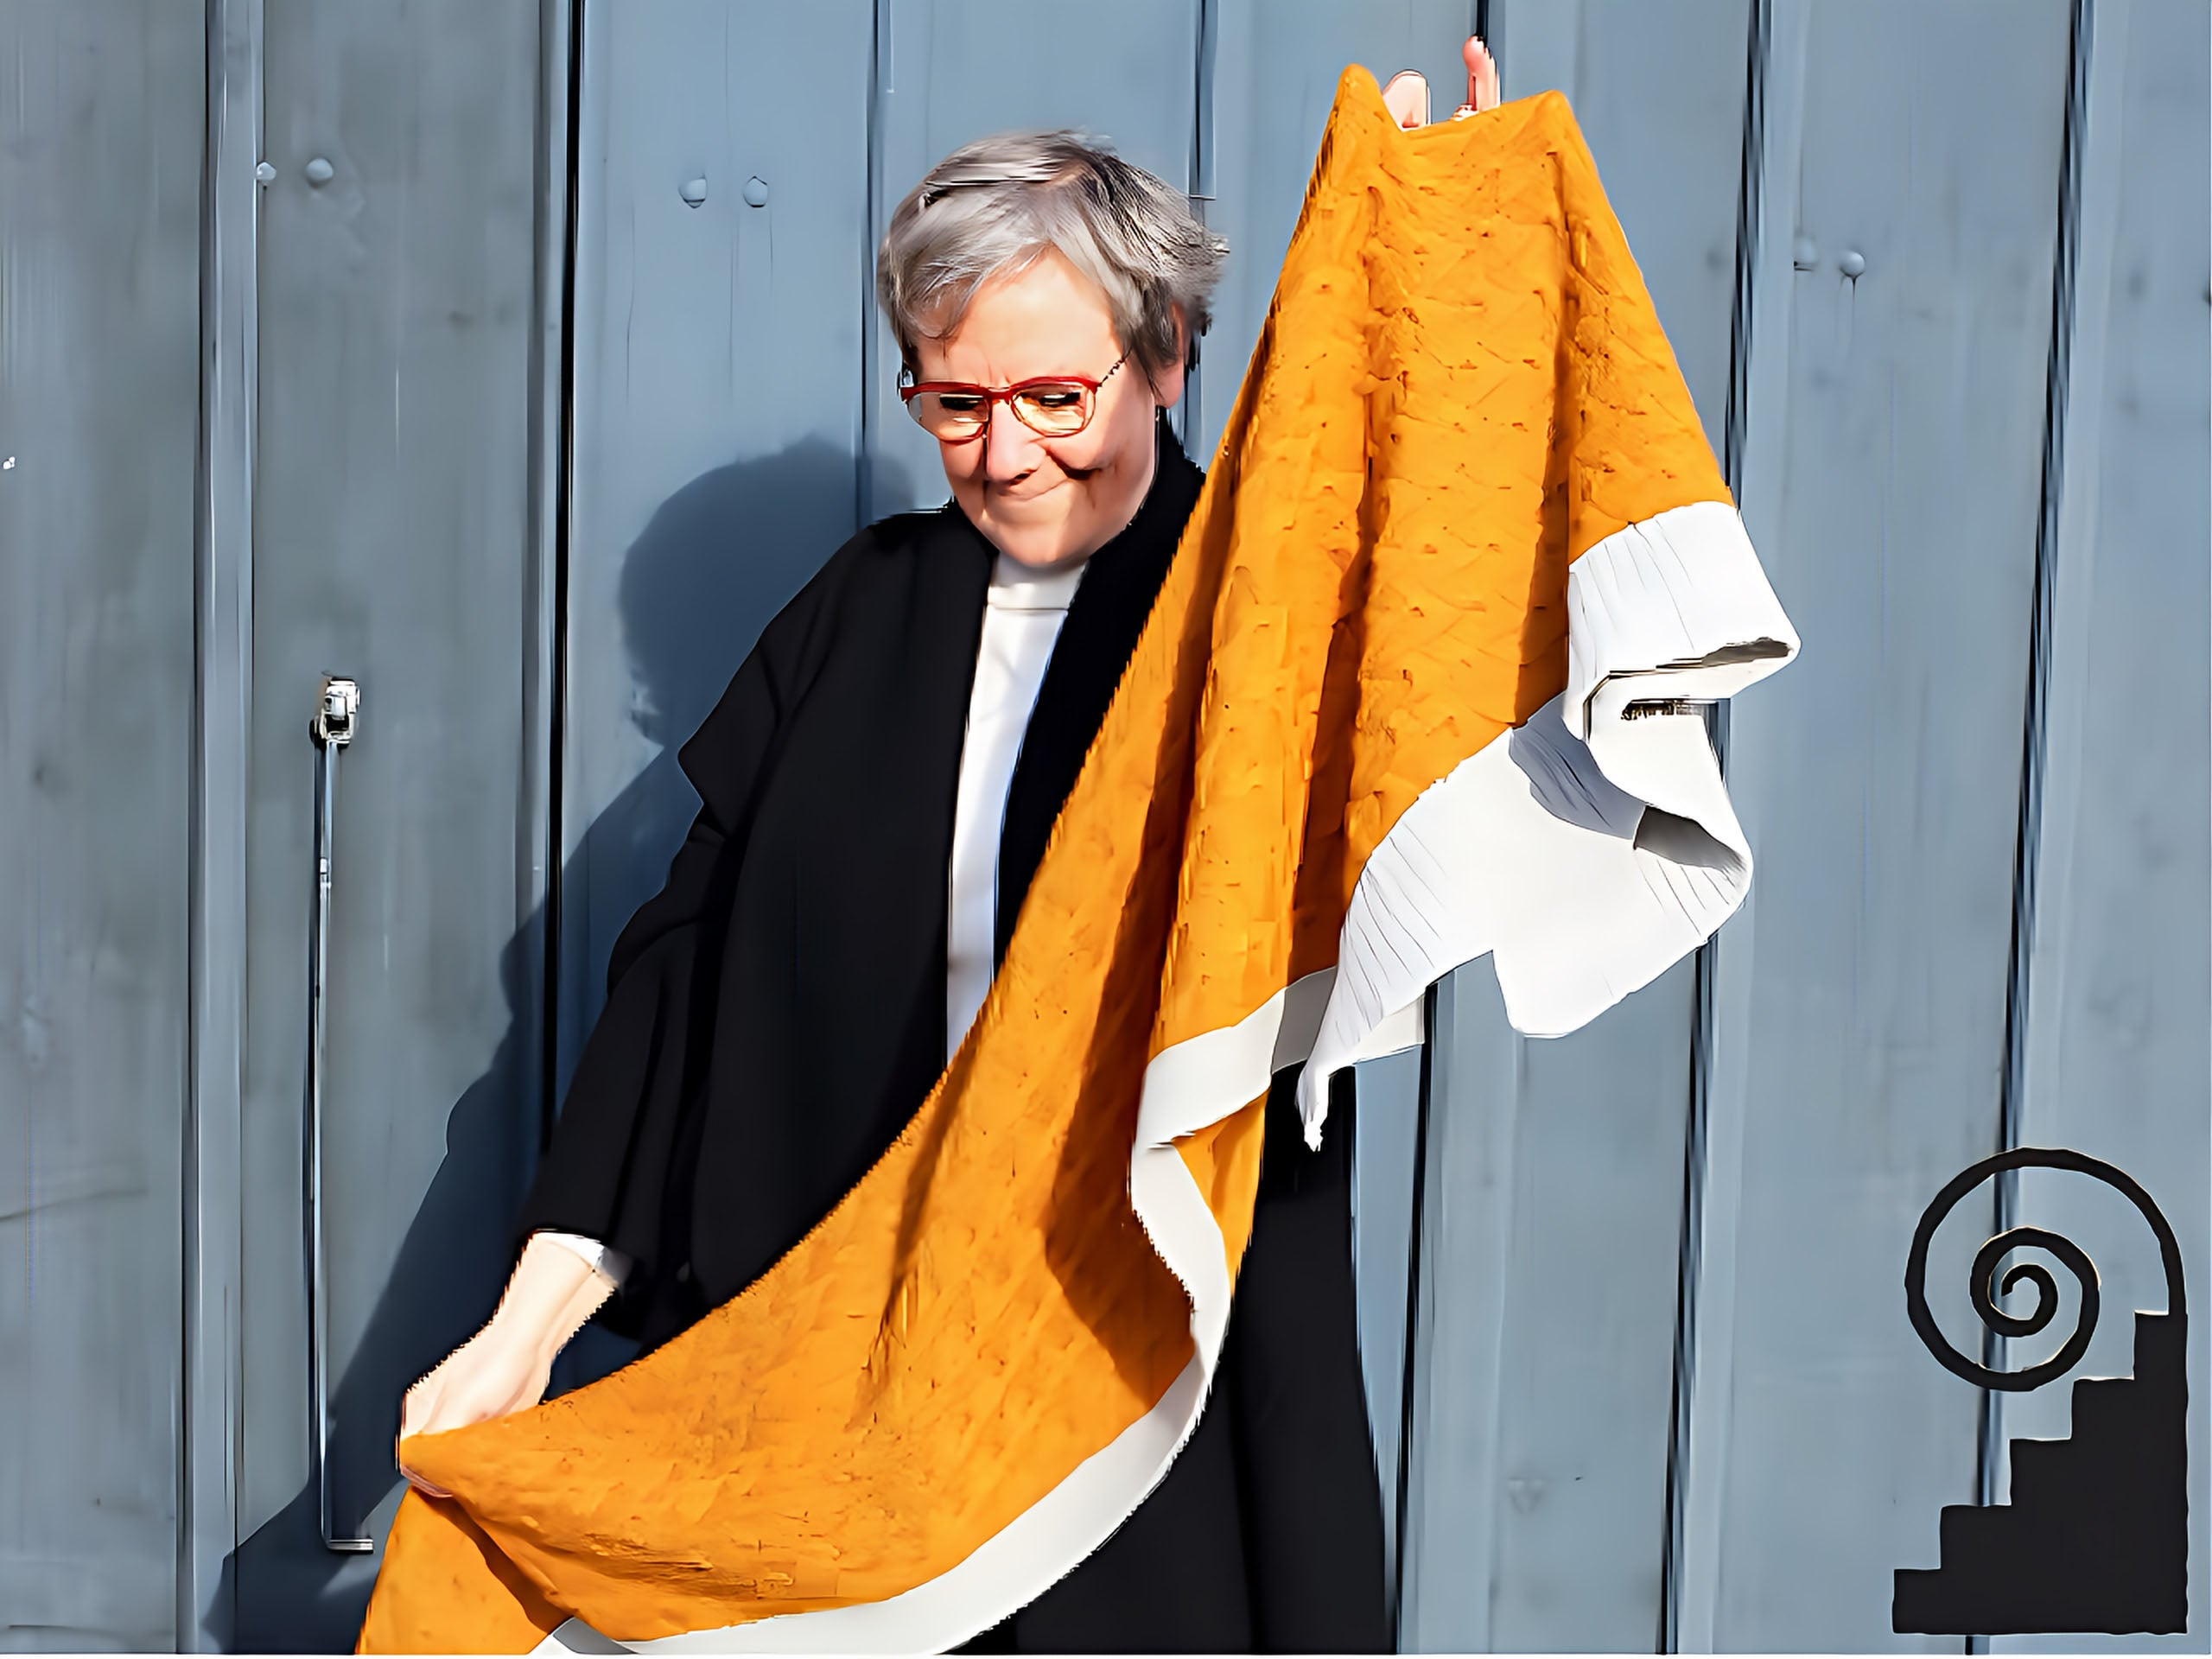
By Claudia Ostrop
Reading and Understanding Pattern Instructions
Are you one of those knitters who have an idea, the right yarn, grab the needles and just start knitting? You knit a bit, add a few stitches here, drop a few stitches there and tadaah! – a short time thereafter the pullover is ready? Then congratulations!
If, however, this is not you, there is no reason to be frustrated. After all, there are so many beautiful patterns in the big wide world of knitting that you are guaranteed to find what you are looking for. Then (almost) nothing stands in the way of your new favorite piece!
The first time you are confronted with a knitting pattern, you may be a little shocked at the many letter combinations and abbreviations you will encounter. Don't worry, you will have understood this “secret language” in no time. Understanding it will help make (knitting) life easier and clearer.
Knitting Instructions: The Basics
Before actually deciding for a pattern, it is best to take a look at the description given. Usually, it can be found before the knitting instructions (e.g. in knitting magazines or in knitting books), and there is almost always a kind of "brief description" of the pattern in online patterns found in the Internet. If, for example, you only find out in retrospect that the techniques used are not fun for you, they are perhaps still too complicated or the needle size you need is not particularly suitable for you, the whole experience of knitting that particular pattern could be frustrating. Or if the beautiful pullover is to be knitted in individual pieces in rows, and you simply don't like to knit purl stitches at all ... You should be able to see from the description how the piece is constructed and what to expect.
Basic Information: Size, Yarn and Gauge
Most probably the deciding factor on whether you knit a pullover, a scarf, socks or something else according to a pattern is probably its appearance.
In the description of the pattern, you will find the technical details:
- What kind of yarn is used? What yarn weight is used in the design? How much yarn is required to complete the piece?
- The needle size and yarn used are the basis for the gauge, i.e. the number of stitches and rows required to get the final measurements of the finished piece. More information on this topic below!
- What sizes is the pattern written for? Very often the description includes detailed measurements of the finished garment.
- The description also gives information on the techniques used, such as cables, slip stitches or shortened rows.
- And, of course, you will be told how the knitted piece is constructed: whether a top is worked seamlessly in one piece or in individual parts, whether it is knitted from bottom to top or the other way around, or for example, how the sleeves are attached to the piece.
- Sometimes you will also find information regarding the level of difficulty of the pattern.
As you can see, a look at the description of the pattern can give you enough information for you to decide if the pattern is really for you. A shawl or a top can look beautiful, but if you can already guess in advance that knitting it would not be much fun, and you end up setting it aside unfinished in frustration, perhaps you should look around for an alternative.
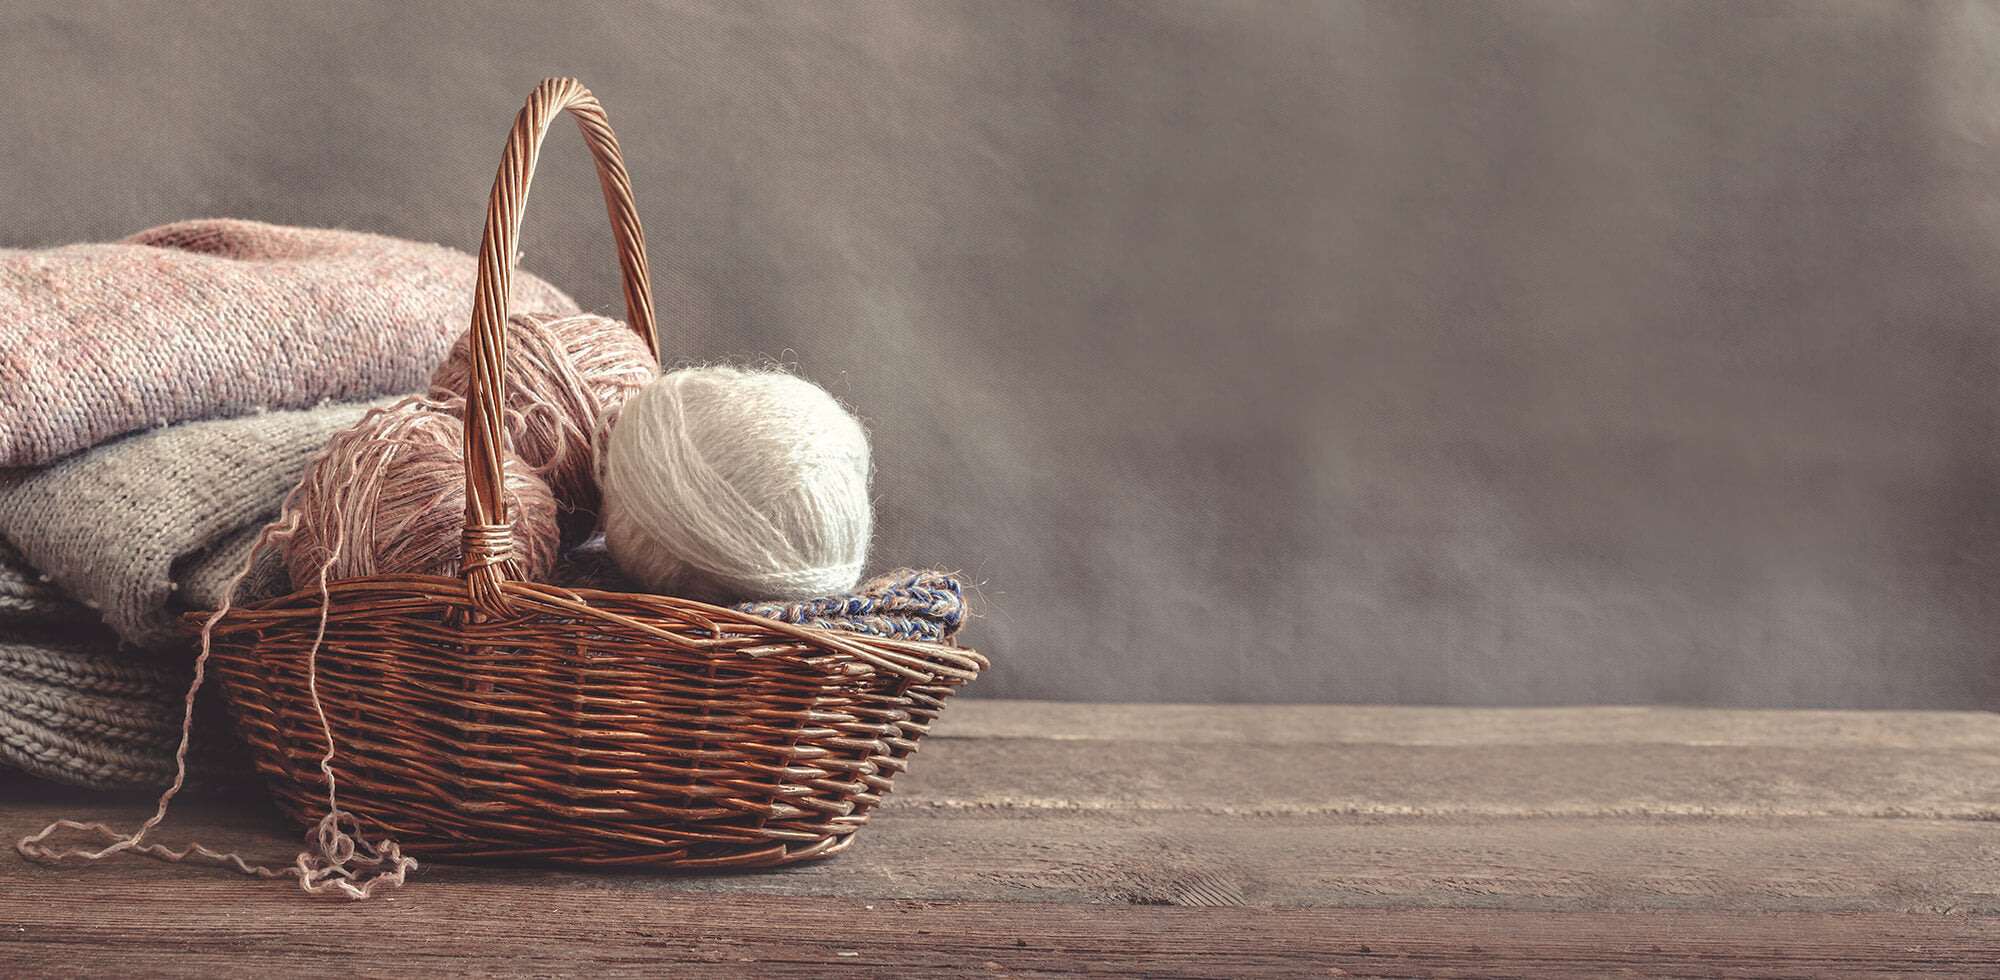
How do I find the right yarn for my project?
Understanding Abbreviations when Knitting
K2tog, SSPP2, M1L?! P1, M1R, wyif?
Yes, admittedly, knitting instructions can look a bit like encrypted secret messages at first glance. Maybe even a little off-putting? Don´t worry! The abbreviations used are always explained in a list of abbreviations that can be found at the beginning or at the end of the actual instructions. Since these are always real abbreviations and not fantasy codes, they are revealed very quickly - and then you are grateful because the abbreviations make the instructions much clearer than if all the instruction steps were written out with whole words.
S2KP2 is already long. But “make a centred double decrease: slip 2 stitches as if to knit 2 together, knit 1, pass 2 slipped stitches over knit stitch” is a lot longer... The instructions are really clearer with the abbreviations!
Very often, abbreviations vary from one country to another. Knitters in the US and the UK, for example, use slightly different terms and abbreviations such as “stockinette stitch” in the US and “stocking stitch” in the UK; in the US you will find the abbreviation BO (bind off) while in the UK you will see CO (cast off). The biggest difference is that the US and the UK use different systems for yarn weights and needle sizes. In the internet you will easily find tables showing the equivalents. Aside from that, the differences are small so you can use patterns from anywhere. The more often you knit following a pattern (by different designers), the faster you will get acquainted with the differences and the easier it will become.
You can say that the knitting abbreviations are a bit like a little foreign language (with dialects 😉) that can be learned quickly and that makes it easier to communicate in the knitting world.
Find knitting patterns
Let's say you would like to knit a pullover. Where do you go about finding a suitable pattern?
There are three options: knitting books, magazines and the Internet.
Perhaps you already have one or two knitting books on your bookshelf? Great. Just take a look, maybe you will find a model that you like.
In the last few years, more and more knitting magazines have come out in the market. They are usually filled with nothing but knitting patterns. A lot of the times, the different issues of these magazines focus on a specific topic, e.g. seamless knitting, summer fashion knitting, sock knitting, etc. Popular women's magazines also include a "knitting extra" every now and then. Such magazines are a wonderful source of inspiration, if you don't know exactly what you want to knit.
The websites of yarn manufacturers are also a great way to get ideas. Have a look at the Pascuali Collezioni - you can order all of the patterns as a PDF.
If you have a fairly precise idea of what “your” pattern should look like and you, unfortunately, haven't found what you are looking for with us, then there is really only one other place: Ravelry.
Ravelry
Ravelry is a very large online platform that is all about knitting, crocheting, and yarn. Here you can find well over 600,000 knitting patterns and a large forum where you can exchange ideas with like-minded people. (But that's not the point here now). Access to Ravelry is free. You just have to register and you have access to the entire database. The patterns, which you can find using an extensive search function, come from designers, magazines and publishers or - like Pascuali Collezioni - from yarn companies.
You can use the search function to filter out “your” pullover (and of course any other piece of knitwear) by clicking on the criteria it should have: cut-out shape, construction, yarn weight and much more.
The big advantage: The patterns come with a brief description and almost always include photos. There are also links to projects that other knitters have already knitted from them. This is a great source of inspiration. You can see how such a pullover fits differently built people, how it looks in different colours or with different yarns.
Once you've made up your mind, click “Buy” and the pattern will be yours.
Free Patterns
If you have to or want to save money, you can also choose to have only free patterns displayed. You will definitely find patterns by well-known designers among them. Sometimes the patterns are only free for a certain period of time, often they are patterns or promotions from yarn companies or simply goodies with which designers want to say thanks. It can be well worth browsing there as well.
Let´s Get Down to Knitting
You've found the right pattern for your project; the yarn and the needles are ready - so you can start, right?
Gauge Swatching, A Love-Hate Affair

Opinions differ about it: while some see knitting a swatch as a relaxed “yarn tasting”, other knitters go into shock just thinking about it. Why should you bother with it, "It will be fine, right?". The answer - at least when it comes to clothing - is a resounding NO! In the case of a scarf or shawl, it is in fact not so dramatic if your gauge differs from the pattern. If the finished size doesn't quite match the planned measurements, it's not all that bad. Except maybe, the amount of yarn needed suddenly isn't enough.
If you knit a pullover and your swatch differs from the pattern by just one stitch, this will have visible consequences. Here´s small calculation example:
Your swatch should be 18 stitches per 4” (10 cm). The pullover you are knitting has 204 stitches in the chest area = 44.5” (113 cm) in circumference.
If your actual swatch is 17 stitches per 4” (10 cm) (only one stitch less ...), then the circumference of the sweater is 74” (120 cm). That's a whole 2.75” (7 cm) difference. It doesn't look any better if you have one more stitch: With 19 stitches to 10 cm, the finished pullover "shrinks" to a circumference of 42” (107 cm). Depending on whether the pullover should sit casually or rather figure-hugging, you have unintentionally knitted a badly fitting (or not at all fitting) pullover due to the difference in gauge.
Even if you are using the same yarn as the one in the pattern, you should not do without the swatch: every knitter knits differently!
Therefore, our recommendation: Take the time and knit a gauge swatch! If it differs from the pattern, go one needle size up or down. Sometimes different needles (e.g. wood or metal) lead to different results. Sometimes you just have to experiment a little. And if you want to get it absolutely right, block your swatch and measure it again when it is dry. In this way, you will know how your knitted piece will behave after washing - whether the yarn is shrinking or giving way - and thus avoid nasty surprises.
Taking Precise Measurements
You should definitely take the time to look at the measurements for your pullover (and of course any other top you want to knit). As a rule, designers give the dimensions of the finished piece and also a recommendation as to whether the piece should be more body-hugging or casual. Compare these measurements with your body measurements. As a rule, guide yourself by the chest measurements to find the right size. Depending on the type of construction, it can also make sense to take a look at the shoulder measurements, e.g. for tops with inserted sleeves or if you have very narrow shoulders compared to your bust size or vice versa.
Knitting Patterns Step by Step
Your swatch is done, the yarn and needles are ready and you're ready to go!
The best thing to do is to skim through the entire pattern so that you have an idea of what happens when and where. If you have printed it out, you can use a highlighter to mark all the numbers relevant to the size you are using - this will make it easier later when knitting and will help to avoid mistakes. When reading the pattern for the first time, you shouldn't worry too much – sometimes the things that appear to be a bit complicated or not easy to understand, clear up when you have the needles in your hand and you simply knit!
If you get stuck and have no one to ask, the internet is often a quick savior: Enter your question or problem in the search and you will surely have found a multitude of (video) tutorials quickly, with which you will definitely get ahead. You can also find help in internet forums, or you can ask the designers directly.
Reading Charts
If you knit a piece with a special pattern - be it a lace pattern, multi-coloured jacquard patterns such as Fair Isle or patterns with cable knitting, there will usually be a chart. This is a schematic representation of the pattern, in which the individual stitches are represented with certain symbols. These are explained in a legend. The cahrt usually depicts an area that has to be repeated continuously: the pattern repeat. Each box represents a stitch and the respective symbol explains how to knit it. Sometimes, in addition to the chart, there are also written instructions given.
Finishing the Knitted Piece
This is how you knit your way through the pattern, section by section, until you have an (almost) finished piece in your hands at the end. Did you choose a seamless pattern? Then all you have to do is weave in all ends! If you have knitted in individual parts, you have to sew the seams of course. And then it's time to give the piece a relaxing bath, let it dry flat and possibly pull it into shape a little. Finished! If you want to find out more about how to take care of wool properly, you will find a lot of tips in our blog post about the correct way to take care of your knitted garments.