
By Claudia Ostrop
It's probably happened to most of us - you're knitting happily and suddenly there's a knot in the yarn. Not the kind of knot that comes about because the yarn got tangled, but the kind that connects two yarn ends. This is quite annoying. Unfortunately, knots cannot be completely avoided. In this blog, we want to show you how these nasty troublemakers can best be mastered. At the same time, we will include a few good tips on weaving loose ends!
Are knots in a new skein or ball of yarn a sign of poor quality?
Coming across a knot in your yarn while you are knitting or crocheting can be quite annoying regardless of the yarn you are using or the type of project you are working on. When it comes to expensive yarns, it is easy to assume that something like this simply shouldn't happen. After all, if you spend a lot of money on a yarn, you expect good quality, right?
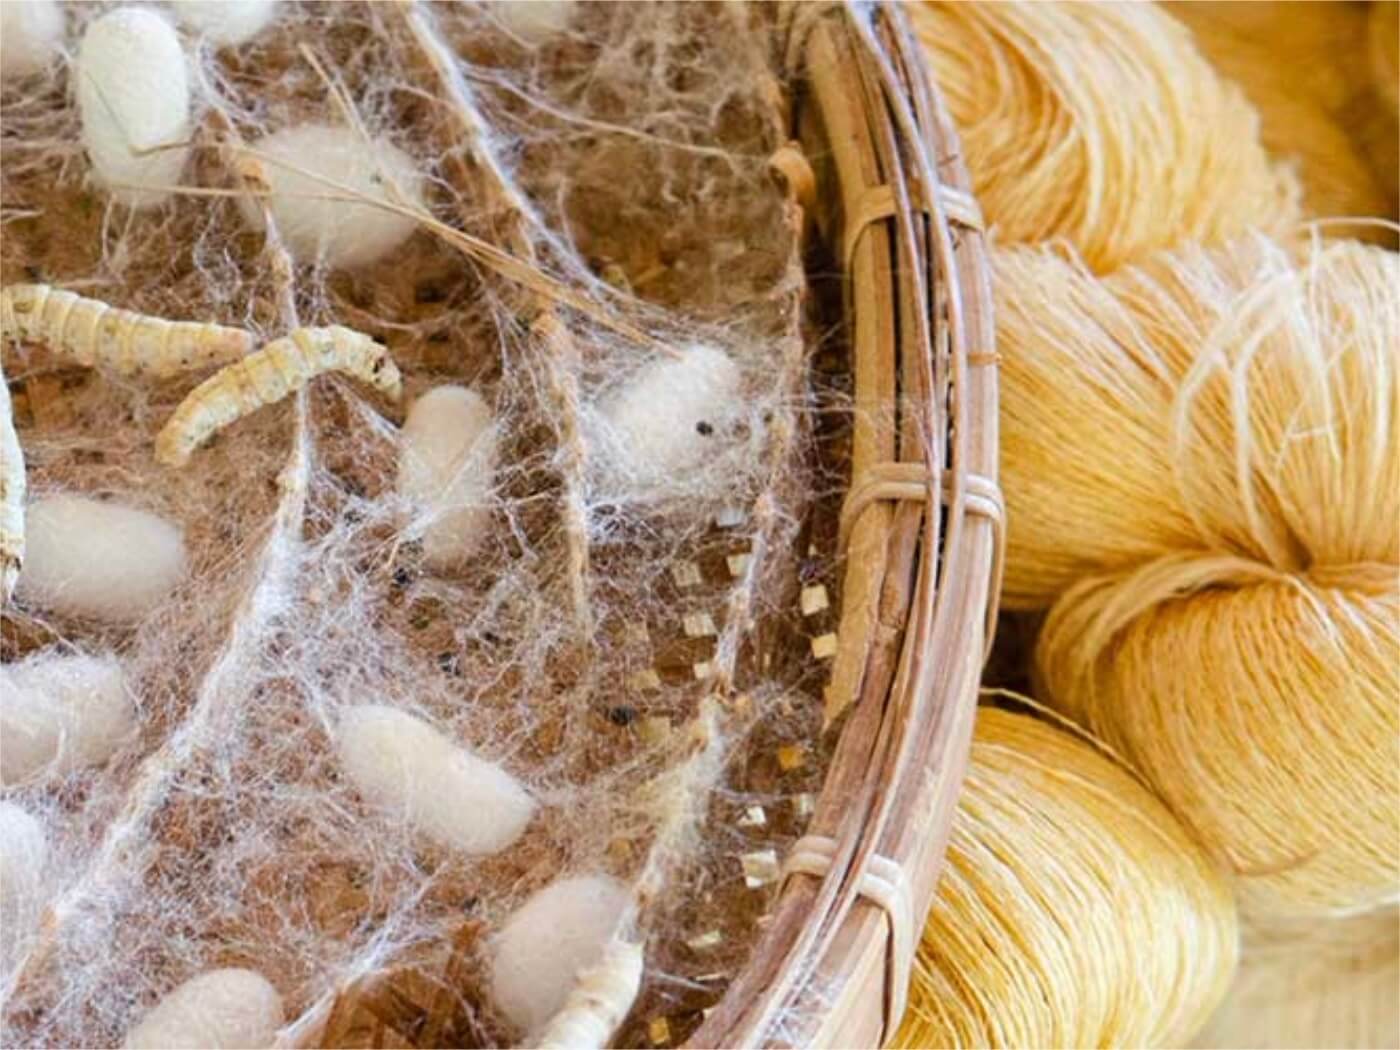
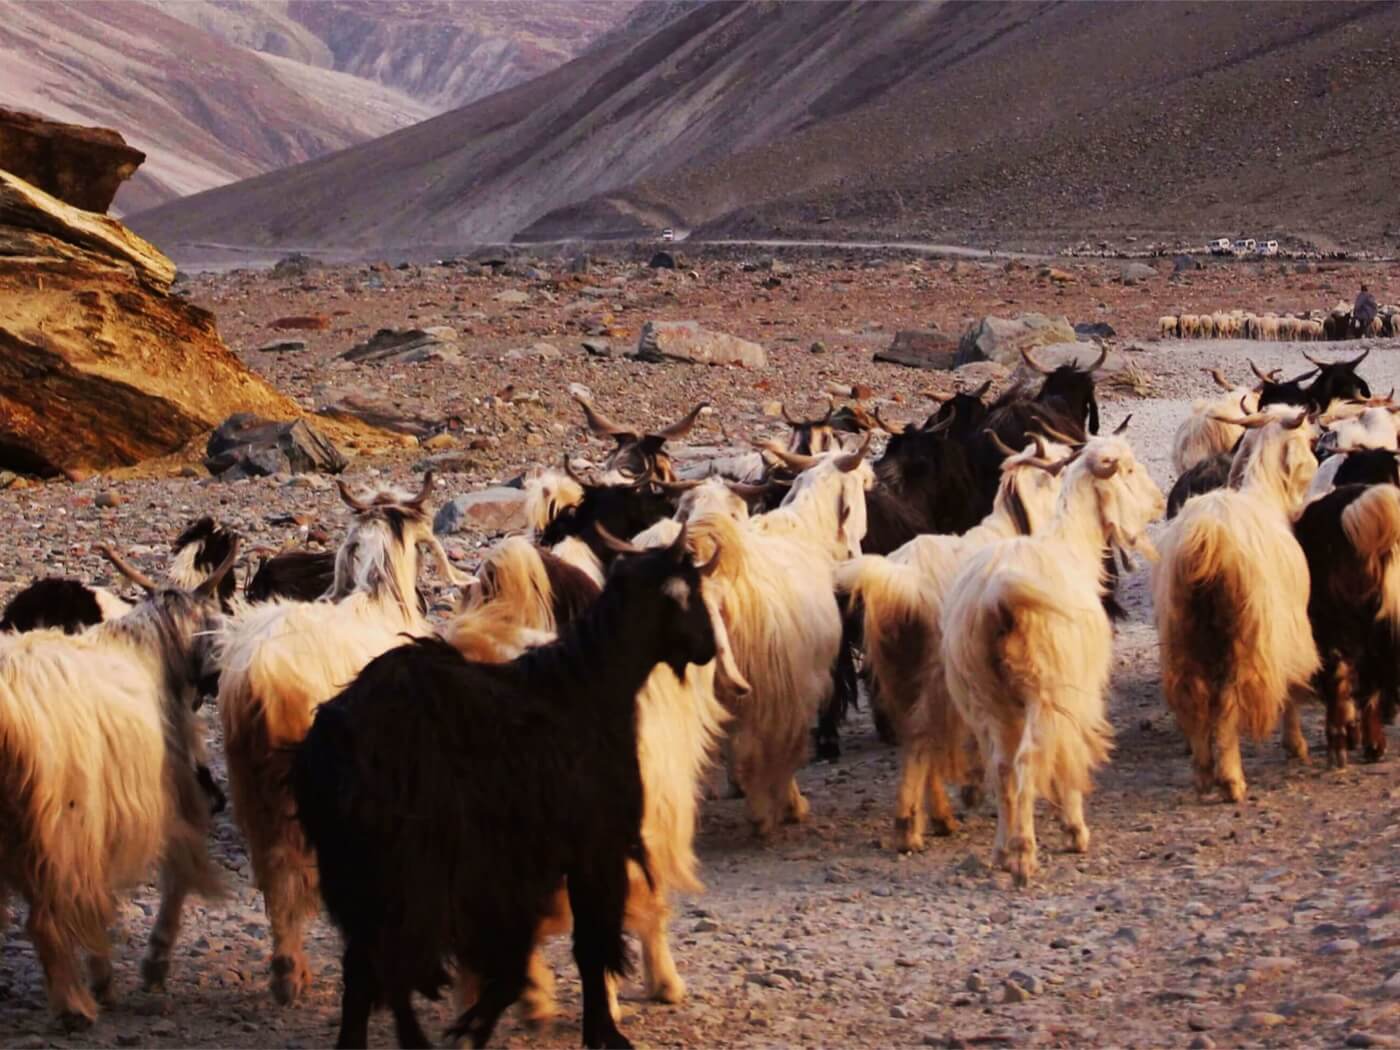
The bad news: Knots are unavoidable regardless of the kind of yarn: at some point, the string of fibre comes to an end! Animal fibres are usually spun into strands weighing 200 - 500 g and then wound onto large cones. The first knots can already appear here. The yarn can also simply tear in the course of the milling process, when twisting or winding it.
Yarns can also be spliced together at the connection points, in which case, the ends are mechanically twisted together using compressed air. The thicker the yarn, the thicker this transition will be. This method is therefore more suitable for thin yarns.
Another point where knots may be necessary is where the yarn is wound from the cones onto skeins or balls: depending on the size of the cone, the amount of yarn cannot always be divided exactly between the finished skeins or balls. If there are still 230 metres left on a cone, but 240 metres are needed for the ball, should this amount of yarn be discarded? Should fine yarn made of baby alpaca wool, for example, be thrown away? That wouldn't be very sustainable, would it? This is the reason why you find knots even in expensive wool.
There is no general standard for how many knots a ball of wool can have.
We have agreed with our manufacturers that we will accept 3 knots per kilogram of finished yarn. In this way, we enable you to knit as frustration-free as possible, but we also ensure that there is no unnecessary amount of waste in production.
The good news: There are lots of ways to deal with knots! Just keep reading!
What to do about a knot in your yarn
There it is: a knot in your yarn. And now? One thing is for sure: the knot has to go!
There are two reasons for this: First, the knot would almost certainly work its way to the front of the knit, no matter how hard you tried to maneuver it to the back while knitting. The pattern would have to have a lot of texture so that it wouldn't be noticed (and even if others wouldn´t notice it - you would, wouldn´t you?)
The second reason is that the industrial connection knots are not designed to last forever. So there is a high risk that the knot will unravel at some point while the garment is being worn or washed leading to holes in the fabric. Making an invisible repair at this point can be very difficult if not impossible, since you might only have a small amount of yarn to patch it up or not even have the same kind of yarn at all.
So here are a few tips, which will also be very useful when weaving loose ends!
Each method has a link to a video tutorial so you can see exactly how each technique works.
Beginning and end – bringing new and old balls together
If you suddenly discover a knot in your yarn, there is only one thing to do: untie the knot or cut it out. If you spotted it just before knitting it, do yourself a favour and knit back a little so that you have enough yarn in your hand. Once the knot is gone, you could just keep knitting and stop where the old piece end, let the tail hang and continue knitting with the new piece. There is, however, a nicer way...
Double knit a few stitches with both strandes of yarn
A simple, practical method is to knit a few stitches together with the old and new strands, i.e. work three or four stitches double stranded. This works quite well if the yarn is not too thick and you are working with one colour and the break is not directly in the chest area of a sweater (but that actually applies to all methods: if possible, place the transition in an inconspicuous place, e.g. on the sides).
There is a similar approach, a little more sophisticated and visually less conspicuous at the end: unravel the end of the old strand and the beginning of the new one a bit, i.e. split the yarn if that’s possible. Place the halved ends on top of each other with enough overlap and knit three or four stitches with them. Half of the old strand and half the new stand are left hanging. With this method, the yarn ends must be weaved in later on.
Wet splice or spit felting
Yes, this method is not for everyone, but it is very effective with yarns that can be felted. If you think this is gross and want to move on to the next method, please read on. Nevertheless, you can also use water for this technique. However, the enzymes contained in the saliva ensure that the felting works even better than with clear water. And you always have spit with you...
Spit felting only works with yarns that are primarily made of 100% wool or yarns with a high content of wool. If in doubt, try it out first on a scrap of yarn.
Ideally, you have cut the yarn to a length of six to seven inches beforehand so that the connection point does not become too thick. It is better to tear the yarn than to cut it off: the torn splices fit in better than evenly thick, cut splices. Once that is done, take the splices and wet them.
Now lay the wet splices on top of each other. If you wear jeans, you can now place them on your thighs and rub and roll the splices back and forth vigorously a few times. Alternatively, you can do this on a thick cloth on the table (or on the back of the sofa), but this is quite slippery compared to the leg. After a short time, the two splices should be felted together. Do a gentle tear test and repeat if necessary. You don't have to wait until the yarn is completely dry, you can continue knitting straight away. The result is a practically invisible, stable connection - and no loose ends to be sewn up.
Russian Join
The Russian join is a great way to join the ends of non-felting yarns. Here, the yarn ends are first interlocked. The new and old yarn ends are laid crosswise on top of each other and the respective end is brought back with an overlap of about 4 inches so that both ends loop around each other. Thread one of the yarn ends onto a not very thick tapestry needle. Push the tapestry needle into the yarn, starting at the point where the two yarns meet. Carefully burrow the tapestry needle into the centre of the yarn.
With a wick yarn it is sufficient to guide the needle inside the yarn and pull it through to the end; with loosely twisted yarn, the needle should be repeatedly inserted so that the later connection is stable enough.
Once you’ve burrowed into about 3 inches of yarn, there will be some bunching on the needle.
Pull the needle through the yarn. Hold onto the other end of the yarn for stability as you pull. Tug on the longer piece of yarn to spread out the bunching evenly across the yarn strand. Trim off the short end of the yarn that’s sticking out. Give the yarn a few good tugs to even it out.
Repeat this process on the other side as well giving the yarn a good tug till it is all smooth again. The connection is stable and afterwards you don't have to weave in ends.
Braided Join
This method only works to a limited extent with wick yarn. However, it is well suited for all twisted yarns, regardless of the material. With the last 8cm/3 inches of tail in the old yarn, separate the plies into two sections. The other tail remains intact. Now hold the end of the undamaged yarn at the divide point of the yarn that has been split, making three strands in total. Hold the ends together with a paper clip or hairpin. Tightly braid the three over a length of about 2 inches. Due to the tight weaving, the ends are firmly connected to each other and there is also no special thickening. The transition point is fairly inconspicuous and there is no need to weave in ends later.
Magic Knot
The Magic Knot is a particularly stable and very thin knot. In the video we show you exactly how it is knotted. In principle, it is suitable for all types of yarns. That said, we cannot guarantee that it will last a long time with extremely smooth yarns.
Weave in as you go
If you don't want to connect the ends together, but simply continue knitting quickly - and still don't want to weave them in later - this method is ideal. It also works well with colour changes:
In principle, you do exactly what we ruled out at the top. Continue knitting with the new yarn. But instead of letting both yarn ends hang, the end of the old yarn is taken along with you: you simply loop it over the working yarn before the next stitch is knitted. This is done over eight to ten stitches. In the following round/next row from the right side you repeat this with the end of the newly attached yarn. If you make sure to pull the last or first stitch appropriately tight when changing the yarn, you will get an absolutely inconspicuous transition on the front.
As you can see, knots in the yarn are not such a big deal once you know what to do and weaving loose ends once you are finished with a project can be reduced to a minimum.
1 comment
Brigitte
Hallo, also, wenn ich nicht gaerade 500 Maschen auf der Nadel habe für z.B. eine Decke oder in Runden stricke, dann mache ich es wie folgt: Wenn plötzlich ein Knoten erscheint in der Mitte der Reihe, mache ich mir wirklich die Mühe und stricke zurück. Der neue Faden befindet sich dann am Reihenanfang und kann später leicht vernäht werden.
Hallo, also, wenn ich nicht gaerade 500 Maschen auf der Nadel habe für z.B. eine Decke oder in Runden stricke, dann mache ich es wie folgt: Wenn plötzlich ein Knoten erscheint in der Mitte der Reihe, mache ich mir wirklich die Mühe und stricke zurück. Der neue Faden befindet sich dann am Reihenanfang und kann später leicht vernäht werden.