By Claudia Ostrop
If you don't want to limit yourself to simply knitting scarves, shawls or potholders, then there is no way around making increases and decreases.
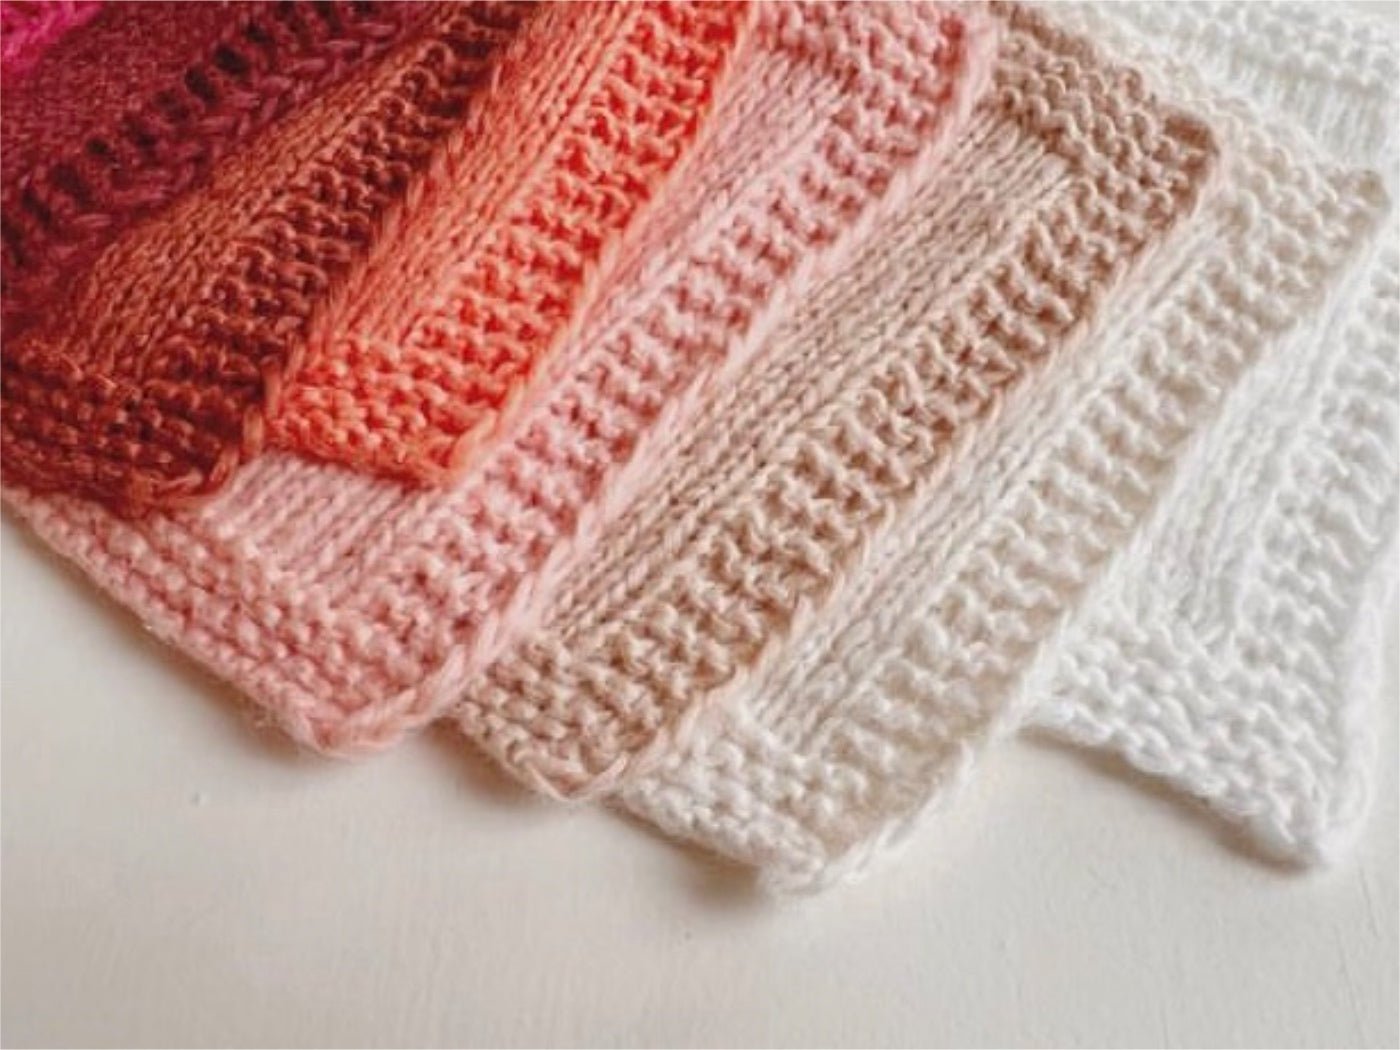
With them, the knitted piece can be widened or narrowed; curves and slanted edges can be created. They not only can be as inconspicuous as possible, but they can also be used as a design element.In this and the following blog post, we will introduce you to a few common methods to work increases and decreases in your knitting. We have also prepared video tutorials for you.
Let's first talk about how to make increases!
Knitting Increases
When a piece of knitting requires more width, the number of stitches must be increased. Instead of casting on new stitches at the side (which always carries the risk that the edge will have holes), it is much nicer to integrate the additional stitches into the existing knitted fabric. A distinction can be made between increases in which one (or more) new stitches are knitted out of an existing stitch, and those that are not.
Many of the increase techniques in knitting show a direction: the stitch inclines either to the right or to the left and can therefore be adjusted very nicely to the direction in which the knitted piece is to be widened or narrowed. Some techniques are invisible, while others are more visible and create an effect.
Make 1 Right & Make 1 Left, (M1R and M1L)
Like many other knitting increases, these two form a right- and left-slanting pair you can use to increase a garment evenly on both sides.They fit very unobtrusively into the stitch pattern, and are often used for raglan increases.
Make 1 Right (M1R)
Insert the left needle tip from back to front under the bar between the stitches and lift the strand onto the needle. Knit/purl it though the front loop to create a right-leaning increase.
Make 1 Left (M1L)
Insert the left needle tip from front to back under the bar between the stitches and lift the strand onto the needle. Knit/purl it through the back loop to create a left-leaning increase
Raised increases
With these increases (also known as lifted increases), which are made by picking up a loop from a previously created stitch in the row(s) below, the new stitch leans in one direction or the other. The two are commonly known RL1 and LL1, right-lifted increase and left-lifted increase. Because they are visually very inconspicuous, they are often used in round yokes
Right-Lifted Increase RL1
Use your right needle to pull the knit stitch one row below the first stitch on your left needle. Place the stitch on the left needle. Knit the stitch and slip it off the needle, taking care not to slip off the stitch that was originally on the needle
Left-Lifted Increase LL1
Unlike the RLI, this increase is worked two stitches below. Insert your left needle from back to front underneath the second stitch below. Place this stitch on the left needle. Note that it will be mounted in the reverse direction from normal. Knit it through the front loop (insert needle from right to left).
Yarn Over Increases
Yarn overs can also be used to increase stitches. You can increase a stitch by making a yarn over between two existing stitches. Depending on whether the yarn over twisted or not in the following row/round, a hole is created in the knitted fabric - along a raglan seam, yarn overs knitted evenly without twisting can result in a pretty lace pattern.
Increases made with yarn overs also lean to the right or the left when knitted "without holes":
Right Leaning Yarn Over
The thread for the yarn over is brought from the back to the front. On the back row, the yarn over is knitted on the left: a right-slanted stitch is created on the right side.
Left Leaning Yarn Over
Bring the yarn under the right needle to the front, then bring the yarn over the right needle to the back. Knit the next stitch normally. Now you have a Left Leaning Yarn Over on your needle in between two stitches.
When knitting yarn overs to create "holes". These holes are called Eyelets. It makes no difference whether the yarn is passed from back to front or the other way around. The decisive factor is how the yarn over is knitted: Knit left leaning yarn over through the front loop and the right leaning yarn over through the back loop.
Working an Existing Stitch Twice (Kfb and Pfb)
Here one stitch is made into two which is known as knit front back (kfb) : knit the first stitch, then without dropping the stitch from the left needle, knit the stitch again through the back loop, as you would in Crossed stockinette stitch. Now drop the stitch from the left needle. Since the crossed stitch looks like a purl stitch, this increase is a bit more noticeable. It is often used on the edge of shawls, for example, where the small "nodules" can emphasize the edge.
You can also add a third stitch out of the doubling by knitting another “normal” stitch after the crossed stitch.
You can also purl into the same stitch twice (which is known as purl front back (pfb): Just like the last increase, you have to work into the same stitch twice before pushing it from the needle. This time, you will first purl as usual, then purl through the back loop.
Cast on a Stitch to Increase
If a stitch is to be increased in the knitted fabric that fits fairly neutrally into the stitch structure, you can cast on a single loop by using the backwards loop cast-on method. It will not lean in any direction. It will now lean either left or right.
“Increase one stitch”
Sometimes patterns only say "increase 1 stitch", without explaining in detail how this increase should be made. In principle, you then have free choice. However, it should be an increase that is not worked out of an existing stitch.
We hope you enjoyed this blog post. Maybe you even saved the page? Then you always have all the explanations and tutorials at hand.
Next time, it's all about losing weight: that is, in your knitting piece ;-)