By Claudia Ostrop
For those familiar with our approach, it's no secret that we are enthusiasts of seamless knitting. Whether working from top-down or bottom-up, our designs are typically designed to eliminate the need for post-knit assembly. However, we recognize that there may be times when seamless knitting isn't feasible. In today's discussion, we explore various methods to join knitted pieces seamlessly.
Numerous techniques exist for connecting knitted pieces, and the choice depends on personal preferences and, of course, the nature of the project. Below, we introduce some of the most common methods to empower you with the skills to assemble the pieces together:
Connecting Individual Knitted Pieces (Mattress or Ladder Stitch)
When you want to sew knitted pieces together, such as front and back parts of sweaters or cardigans, or attach sleeves, it's advisable not to lay the knitted pieces on top of each other as you would with fabrics. This would result in thick ridges that wouldn't be conducive to the comfort and fit of the garment.

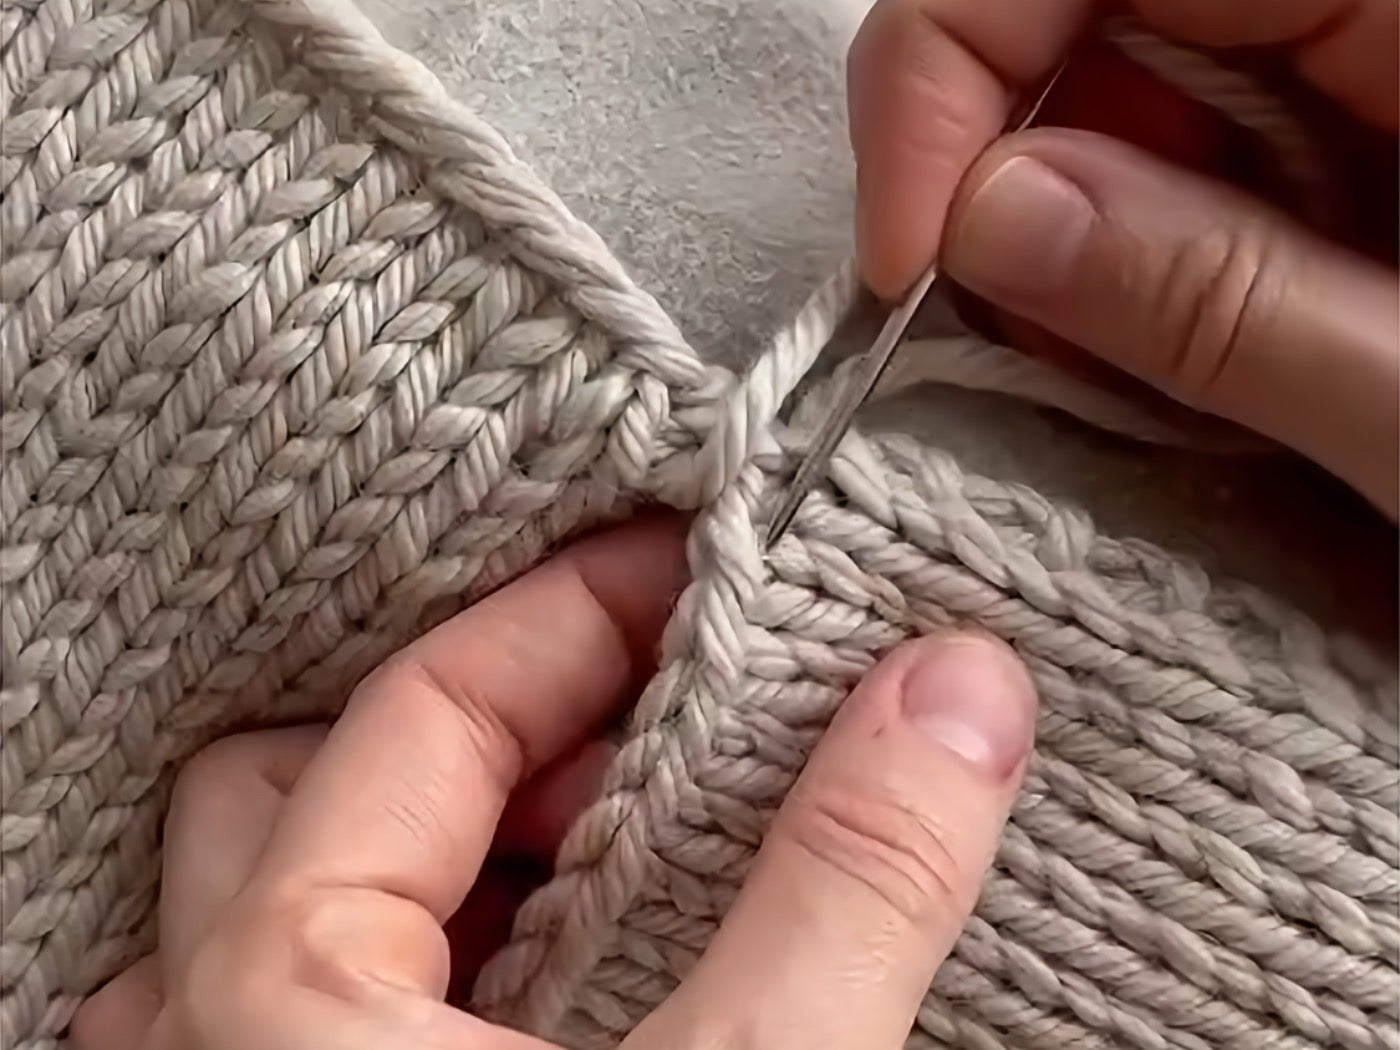
For nearly invisible seams that don't bulk up, align the pieces to be joined flat with the right side facing up. Since the ladder stitch is executed between the edge stitch and the adjacent stitch, always pull the edge stitch slightly outward: the cross thread to the next stitch is now clearly visible.
To sew, it's best to use the original yarn
(those who like and think ahead can also leave an extra-long end when casting on!). Thread the needle from bottom to top under the first cross thread on one side. Then go from bottom to top under the

corresponding cross thread on the other side and so on: from one side to the other. A kind of ladder is formed between the pieces with the sewing thread – don't tug the thread tight immediately but connect a bit and only then tighten the thread. If everything is done correctly, the seam is almost invisible, and the "V"s of the stitches lie neatly side by side.
The edge stitches form a flat seam on the back.
When sewing in sleeves, pass the needle through both legs of the edge stitch at the armhole and through both legs of the "V" of the topmost stitch on the sleeve – always from one part to the other back and forth. This seam is not invisible, but if you always stitch into the edge stitch and the topmost sleeve stitch (before the cast-off edge), a very clean seam is created.
Picking Up Stitches and Knitting
If you want to add a ribbing for the neckline or a button bands, you wouldn't want to knit them separately and then sew them on afterward, as the resulting seam would likely be disruptive. In such cases, the new element is connected directly while knitting with the existing piece: stitches are picked up and knitted from the existing knitting. This is often the case for cuffs and button bands, as well as sleeves, where the required stitches are picked up from the armhole and the sleeve is then knitted down to the cuffs.
There are two basic variations: picking up stitches from a horizontal or a vertical line.

Stitches are picked up from the horizontal line, for example, when starting a ribbing or collar for the neckline, or when picking up stitches from the shoulder edge of the front or back piece for the other shoulder direction. For button bands or sleeves, stitches are picked up from the vertical line.
When picking up stitches from the edge of an existing knitted piece, insert the needle into the knitting and pull the working yarn through – and you already have a stitch on the right needle. The old and new knitting parts are perfectly connected when using this method.
Kitchener Stitch – Connecting "Live" Stitches

In the so-called Kitchener Stitch, live stitches are connected in such a way that there is no visible seam: the yarn is threaded through the stitches of both pieces in a manner that mimics a row of knitted stitches. In addition to the visual aspect, another advantage is that there is no raised seam or bulge. That's why this technique is used, for example, when closing sock toes or for shoulder seams when knitting from bottom to top.
Binding off with Three Needles

- Place both pieces with right sides facing each other, aligning the needles directly on top of each other.
- With a third needle, insert it knitwise into the first stitch on the front needle and purlwise into the first stitch on the back needle, then knit them together.
- Repeat this process with the next stitch on both needles.
- Lift the first stitch on the right needle over the second, similar to a regular bind-off.
- Continue by knitting together the first two stitches on the left needles and lifting the first stitch over the second on the right needle.
This method is not limited to shoulder seams and can be used whenever you have live stitches on two needles that you want to connect, such as in hats with a double brim.
Crochet Seams

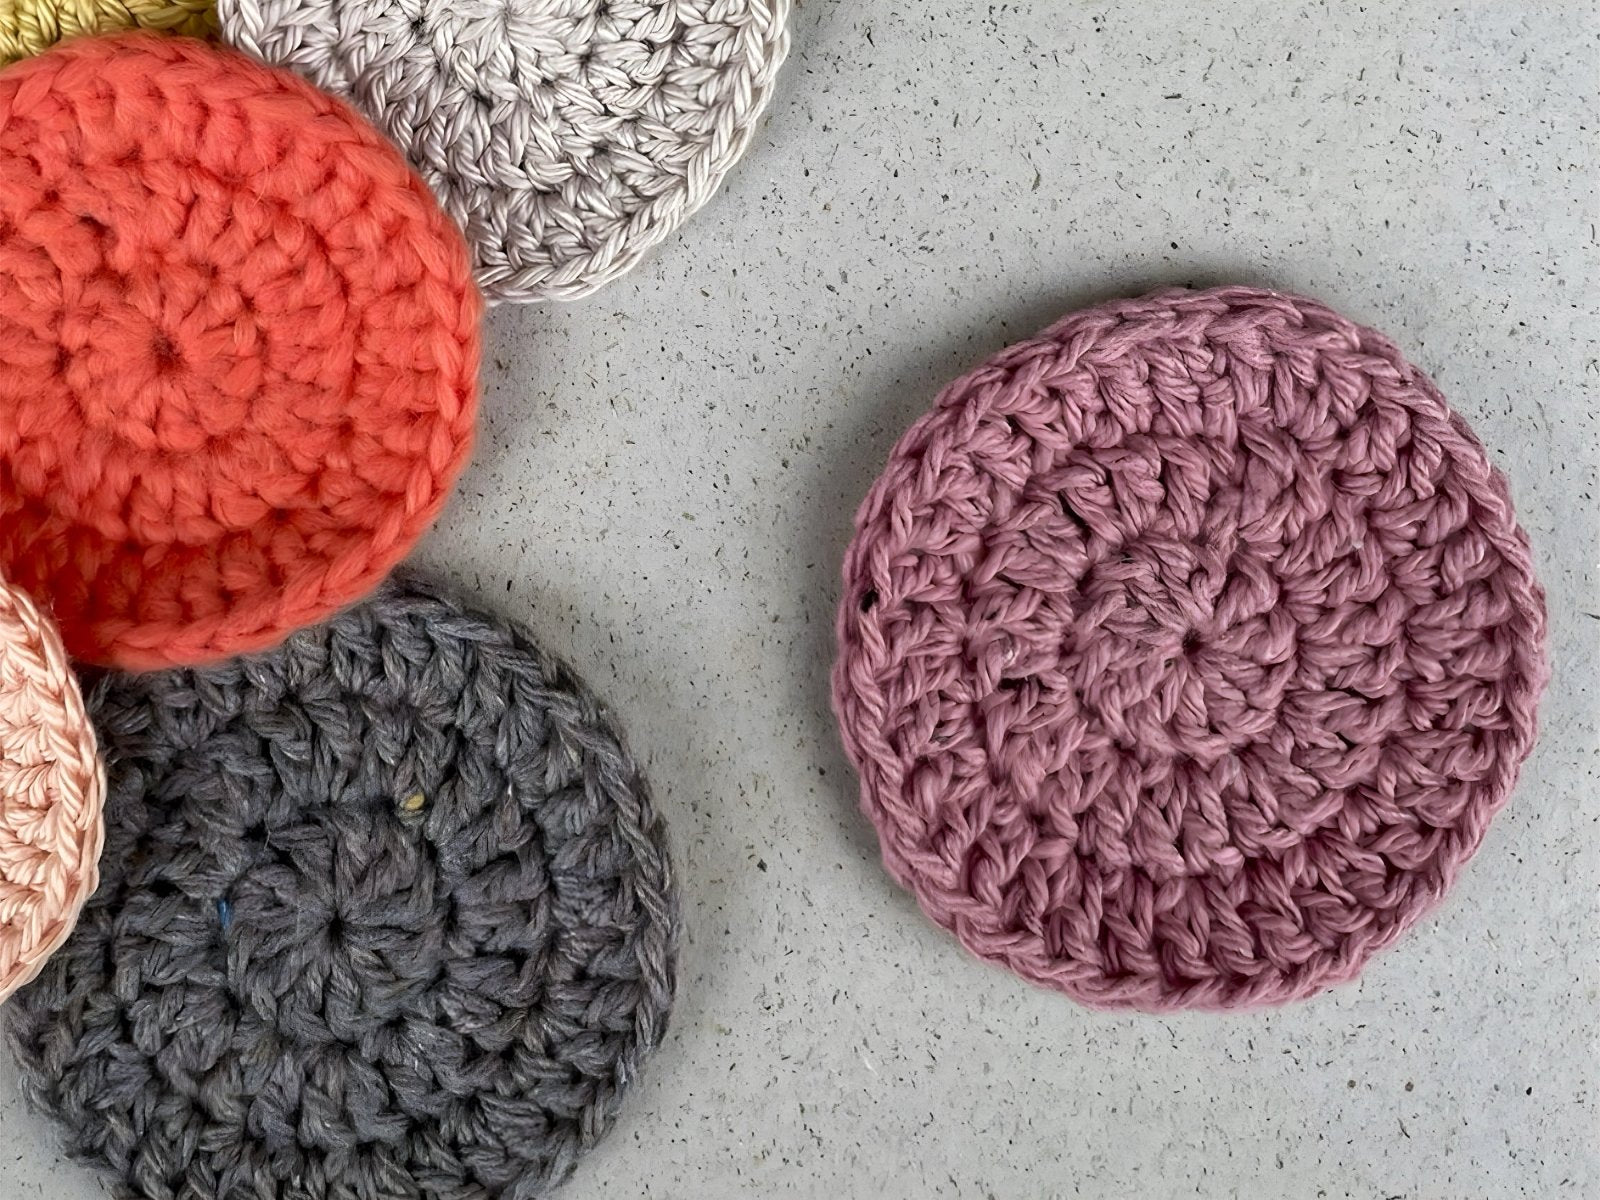
Another way to connect knitted pieces is by crocheting them together. The process involves placing the two pieces with right sides facing each other and inserting the crochet hook from the front to the back through the edge stitches of both pieces. Pulling the yarn through, crochet a row of single crochet stitches along the edges of both knitted pieces. The seam, depending on the stitch pattern, may not be truly invisible. As it is also not particularly elastic, it is less suitable for clothing items. However, it is very well suited for assembling patchwork blankets, especially for that purpose.
Decorative Seams

Certainly, one can use seams as a design element. Especially in accessories like bags or in blankets composed of individual pieces, visible seams can create beautiful effects. For instance, changing the yarn on the work and allowing it to switch sides can make the connection appear braided or embellished with cross-stitch-like patterns. Just give it a try!
The choice of method depends not only on the type of project and the desired finish but also on personal preferences. Especially if you have little or no experience in connecting knitted pieces afterward, it's often helpful to experiment with various methods. This way, you can find the one that best suits your particular knitting piece and makes you feel the most comfortable.