By Claudia Ostrop
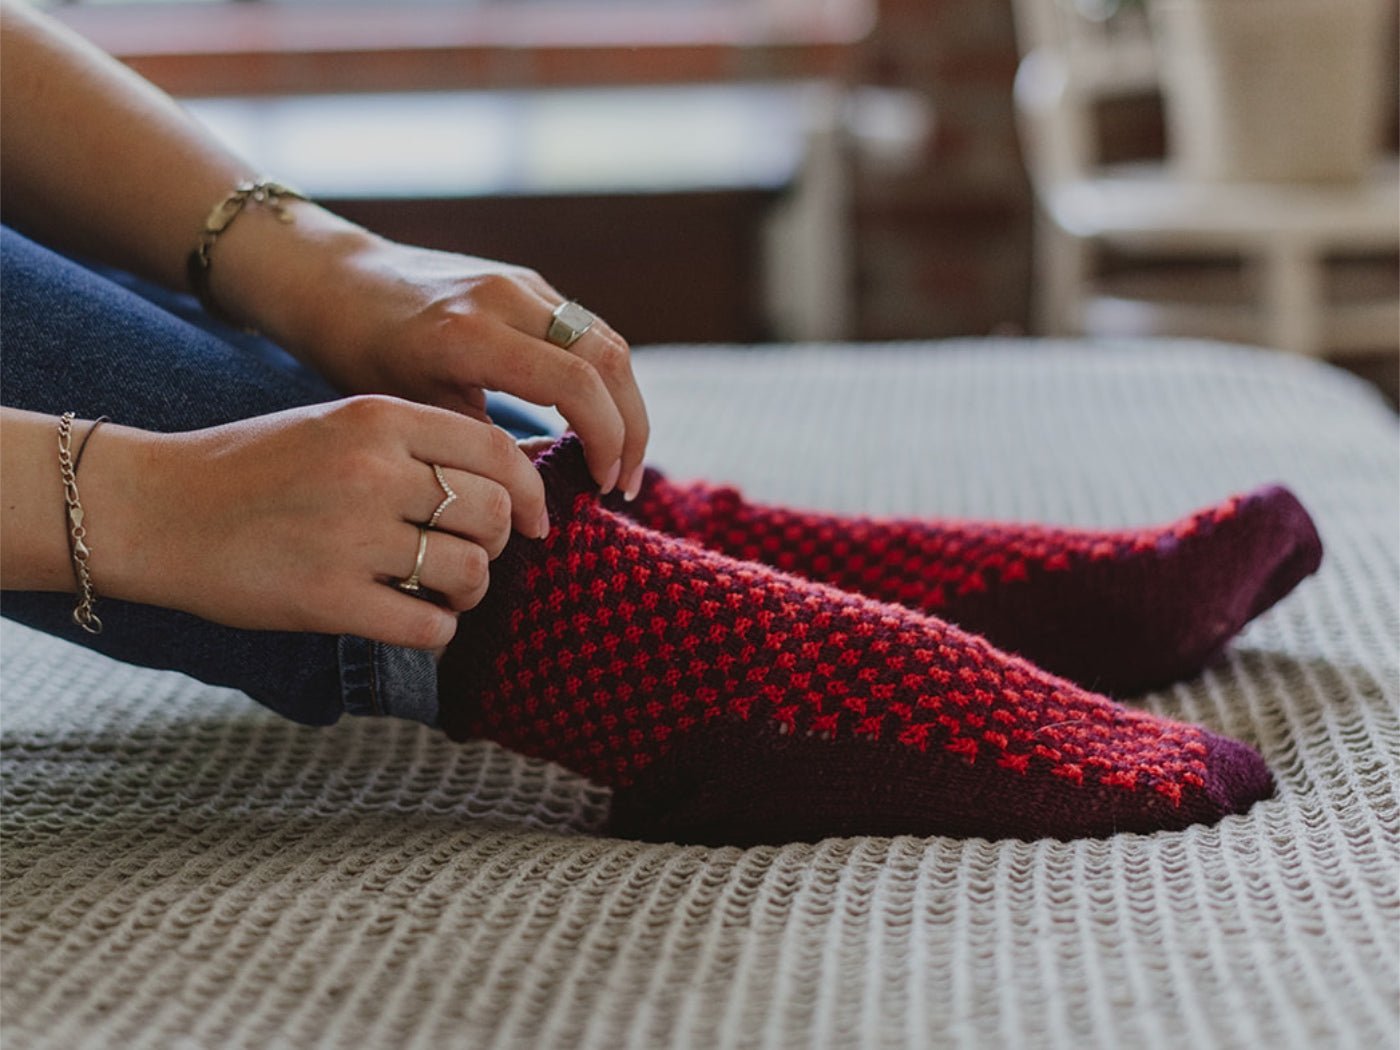
As October draws to a close, we bid farewell to a month dedicated to the art of sock knitting. Every October, social media buzzes with sock-knitting enthusiasts showcasing their exquisite projects. However, the charm of crafting socks knows no seasonal limits.
With over 55,000 results for sock patterns on Ravelry, how do you choose the perfect one? While most socks share a basic foot-shaped form, there are countless ways to create them. In this guide, we've compiled fundamental techniques, providing a general description to inspire you.
Starting Your Sock Knitting Journey: Cuff Down or Toe Up??
When embarking on the exciting world of sock knitting, one of the first decisions you'll face is whether to begin at the cuff or at the toe. Both options come with their unique advantages and drawbacks, but in the end, it's all about your knitting style. If you take a look at Ravelry's search results, you'll find that the 'Cuff Down' technique leads the way with three times as many results compared to the 'Toe Up' approach. Let's explore the choices and find what suits you best.
The Cuff Down Socks

The 'classic' approach takes us from casting on stitches at the cuff, working our way down the leg, over the heel, and along the foot towards the toe. This is how many of us learned to knit socks, passed down from our grandmothers and their grandmothers before them.
One of the advantages of this knitting direction is that it allows for relatively easy determination of the foot's length. You can simply try the sock on and see how many more rounds are needed before you start the decreases for the toe. Most patterns provide information on the toe length, making it convenient to tailor the sock to your desired fit.
Socks CYNTIA
The Toe Up Socks
Casting on stitches (often using 'Judy's Magic' or an 8-stitch cast-on) can be a bit tricky. However, with a little practice, you'll get the hang of it, and your efforts will be rewarded with a virtually invisible start at the toe. This is particularly great for those with a keen eye for detail who may be bothered by the slight tightness at the sock's tip that results when the final stitches are simply pulled together in the cuff down socks technique.
A bit more challenging in this approach is determining the required foot length. After all, the foot ends with a three-dimensional heel, and its necessary length is not as easily estimated as that of a smooth toe. But for those who follow a pattern and don't piece together the elements of a sock themselves, there's security in adhering to the provided size specifications.
One undeniable advantage of knitting socks from the toe up is this: If your yarn supply is running low, perhaps because you're working with scraps, you can easily make adjustments if needed. Ending the cuff a bit sooner (or unravelling a few rounds from the leg) is much simpler and less nerve-wracking than realizing, right at the end that your yarn won't be enough for the big toe!
Heel
The heel is the section situated between the leg and the foot, and it must be snugly constructed to prevent any friction or discomfort inside the shoe. There are multiple techniques to achieve this. Here we show you a few of them:
Gusset Heel: A Timeless Classic

Once the middle third of stitches remains, the heel turn is complete, and you'll begin picking up stitches from the sides of the heel flap to continue knitting in the round. At this point, you'll find yourself with more stitches than you initially had on your needle. These are gradually decreased to shape the gusset, creating a wedge that provides the necessary width for the sock over the instep.
An interesting note is that this technique works the same way in both knitting directions: When knitting from top to bottom, the heel flap is positioned at the back of the heel. If you began at the toe, the heel flap in this construction is located beneath the heel.
Alternative Shapes
If you've explored the realm of sock patterns, you've probably come across a variety of other heel shapes. Let's take a closer look at a few of them:
The Horseshoe Heel
In terms of construction, the horseshoe heel is similar to the gusset heel. It's typically used in toe-up socks. However, unlike the classic gusset heel described above, in this method, you initially increase stitches to shape the gusset. Afterward, decreases are made to form the heel cap: the first (last) heel stitch is knitted together with the previous (following) gusset stitch. This is done using short rows, which help create the curvature for the heel.
The Boomerang Heel
The boomerang heel, unique in its design, bypasses the need for a gusset. This heel construction method involves working with half the number of stitches, skilfully employing short rows. In practice, you knit the first stitch of each row as a double stitch and then continue knitting until you're just before the double stitch on the opposite side before turning the work. This sequence is repeated until, at the centre of your needle, only a third of 'regular' stitches remain, flanked by an equal number of double stitches on either side.
From this midpoint, you'll begin increasing with one additional double stitch on each side, steadily progressing toward the edges. Following this, your work continues seamlessly in the round. The beauty of this technique lies in its adaptability to various types of short rows, making it a versatile choice for both top-down and toe-up sock knitting.
The Afterthought-Heel
True to its name, the afterthought heel is a technique that comes into play only after you've completed the rest of the sock. It operates much like the boomerang heel and is versatile for both top-down and toe-up sock knitting.
Once you've reached the spot where your heel should be, you introduce a contrasting yarn and use it to knit off half of the stitches. Then, you simply continue knitting in the round with your main yarn until the sock is fully shaped. At the later stage, you pick up the stitches both above and below the contrasting yarn and remove them. The actual heel is worked in the round, where you knit stitches together at regular intervals, forming a decrease line on both sides of the ankle. To finish, the remaining stitches are seamlessly closed using the Kitchener stitch. This heel technique is especially beneficial for individuals with a high instep.
Toe Shaping

When it comes to shaping the toe of a sock, the primary concern is ensuring a comfortable fit without any uncomfortable pressure inside the shoe. There are two main techniques for toe shaping:
Star-Toe: The star-toe technique evenly distributes decreases or increases throughout the entire round, creating a smoother and less conspicuous appearance.
Band-Toe: In this method, there are distinct lines of decreases or increases on both sides of the foot, resembling a band.
Detailed descriptions of all these techniques can be found in dedicated sock patterns. If you're interested in creating your very own customised socks using these various methods, the internet offers a plethora of instructions and tutorials. Additionally, you'll find handy sock charts that organise increase and decrease numbers, lengths, and stitch counts according to sizes and yarn weights, simplifying the process of crafting the ideal pair of socks.
What to Knit Socks With: A Dilemma.
As you can see, not all socks are created equal, and there are numerous paths to achieving warm and cosy feet. Whether you prefer to follow a complete pattern or craft your favourite socks from various individual elements is entirely a matter of personal taste. But one question remains: what materials should you knit with?
The Needle Predicament
Double-pointed needles
A quintessential tool in sock knitting, the traditional set of double-pointed needles comprises five short needles. Four of these cradle the sock while the fifth is employed for the knitting process. While some knitters may find working with DPNs a tad intricate, even the choice between metal and bamboo or vice versa can significantly influence the ease of handling.
Trios
In recent years, a new player has emerged in the realm of sock-knitting tools: short needles with a flexible central section. With this setup, the sock is snugly held on two needles, and the actual knitting action is executed using the third needle. This approach significantly reduces the chances of mishaps compared to the use of four straight needles.
Circular needles
Socks can also be knitted using circular needles. There are extremely short circular needles available, designed to match the circumference of a sock. It might take a bit of getting used to working with such short needle tips, but it can certainly be worth a try.
If you're not a fan of double-pointed needles or very short circulars, you might consider using longer circular needles. With the Magic Loop method, you can knit socks with great convenience and results.
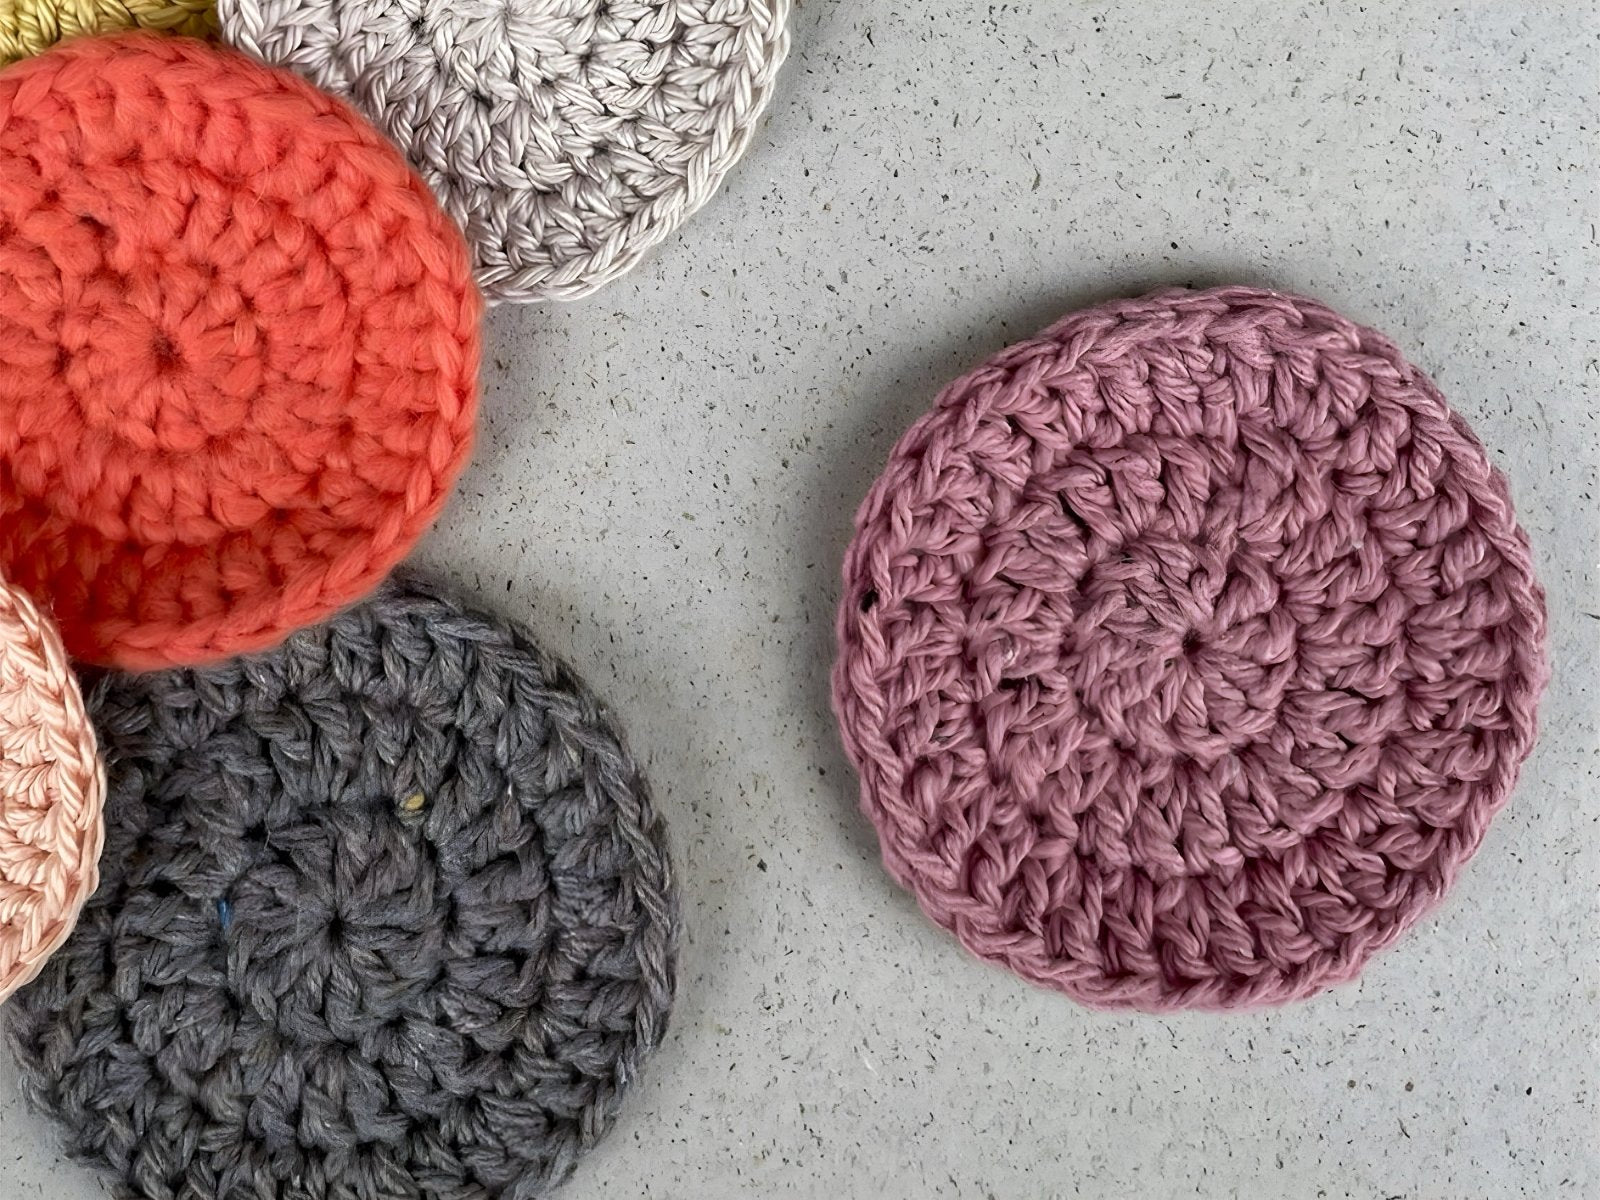
The Yarn Conundrum
All these techniques, needles, and tips are vital, but what's the key to successful sock knitting? The yarn, of course! So, what's the best choice?
Is it the traditional sock yarn? Typically, it blends wool with synthetic fibres for added durability. But must sock yarn always contain plastic components?
Our answer is a resounding no. We originally* introduced Pinta as a dedicated sock yarn, but it's anything but ordinary. Instead of synthetic materials, Pinta boasts a high ramie content, ensuring exceptional stability. Socks knitted with Pinta can confidently rival their conventional counterparts, including those with nylon, polyamide, or acrylic.


*Initially designed for socks, Pinta has now established itself as a versatile all-around yarn in our collection. For those in pursuit of a beautiful yet robust blend of merino and silk, Pinta stands as the ideal choice.
The “Second Sock Syndrome”
Lastly, let's not ignore a widespread knitting challenge known as the 'Second Sock Syndrome.' This phenomenon describes the common struggle of completing a pair of socks: While the first sock flows smoothly off the needles, the second often lags, remaining unfinished or sometimes never started.
This issue bears a striking resemblance to the challenges faced when knitting a second sleeve.
The solution? Simply cast on for a new first sock. Starting anew can reignite your passion for knitting.
May your sock knitting adventures be truly enjoyable!


1 comment
Cinzia
Unglaublich: Die Bumerangspitze fehlt! Sie ist mein absoluter Liebling, insbesondere bei Toe-up-Socken.
So z.B. kann das aussehen (hier in extrem dicker Wolle, trotzdem weder Knubbel noch Löcher):
https://craterelle.weebly.com/blog/socken-von-unten-toe-up
Unglaublich: Die Bumerangspitze fehlt! Sie ist mein absoluter Liebling, insbesondere bei Toe-up-Socken.
So z.B. kann das aussehen (hier in extrem dicker Wolle, trotzdem weder Knubbel noch Löcher):
https://craterelle.weebly.com/blog/socken-von-unten-toe-up