By Claudia Ostrop
When you make something yourself, the wonderful thing is that you can do it according to your own wishes or ideas. If you sew or knit, you don't have to scour the shops for the perfect piece.
Simple or complicated, plain or opulent, the range of patterns is huge and readily available in magazines, books and the Internet. Most of you probably know Ravelry as “El Dorado” for knitters.
Once you have found the pattern and the right yarn, you may be confronted with one problem: how to find the right size. Today, we give you tips on how to find the right size for you and how you can easily adapt a pattern by making small changes.
Size information in knitting patterns
Even if a lot of things are standardized in our everyday life, clothing sizes are not. Sizing systems are (unfortunately) only good as a guide and they vary not only from country to country, but form one brand to the other: If you can get by with a size 12US / 38 EU from one manufacturer, it will be the equivalent of a size L from another one.
The good thing about knitting is that most patterns give the necessary dimensions, either in a list or even by means of a dimensional drawing. So, you can see exactly what dimensions the finished cardigan or pullover will have (... provided the gauge matches...)
Chest Measurement
As a rule, the chest circumference is used as the basis for size.
There are two possibilities:
In the Pascuali patterns, for example, the size specifications already take into account the chest size. At the beginning of each pattern, you will find information about which clothing size you should choose for a specific chest size. If you know your chest size, you can select the appropriate size from XS to 5XL. Our patterns always contain schematic drawings, so you can compare them with the dimensions of the finished knitted piece.
Another way of sizing is based on the measurements of the finished upper part of the garment. It specifies which size corresponds to which chest circumference of the finished pullover. This is always accompanied by information on how much “positive ease” is recommended for a specific chest circumference. “Positive ease” allows extra room for the body to move around in the garment and guarantees that it will not be too tight. The quantities defined in this way are often specified as digits (1, 2, 3, etc.)
Ultimately, both systems come down to the same thing: You have to know what chest size you have so you can decide which size you need.
Know Your Own Dimensions
Does any one of us truly meet ideal dimensions? What are standard dimensions anyway? You will usually be able to tell whether you are tall or short, rather fat or rather thin.
However, to be able to knit a well-fitting top, you should get away from the "roughly" and know your size a bit better.
So, bring out that measuring tape and take notes: the bust size, measured at the widest point below the armpits, the shoulder width, the hip width, the circumference of the upper arms. Finally, measure the waist size, the length of the upper body and the arms.
Find the Right Size
As already mentioned, the key measurement for the right size of a top is the chest size. Either the pattern provides the dimensions of the finished knitted piece and you add the desired positive ease, or this is already included in the size information. Are you between two sizes? Well, then it's up to your own personal taste. Do you prefer to wear things a bit looser or rather tight? If you have already knitted one or two pieces, experience can help you: will your finished knitted pieces be larger or smaller compared to the gauge given (that´s why doing a swatch before starting to knit is very important!)?
You don't like to measure (yourself) so much? Then turn to your closet with confidence! Surely, you have one or the other top that fits just the way you like it. Then just measure it instead!
What is Standard?
Of course, not all people are built the same and the individual parts of the body are not in a fixed relationship to each other. A lush bust does not automatically go hand in hand with broad shoulders or hips. Neither do two or three kilos more on the scale automatically lead to longer arms. Do you see what we're getting at?
It is definitely worth taking a look at the other dimensions given in the pattern.
If you know where the discrepancies between the measurements in the pattern and your "own body" are, you can remedy the situation with small changes so that your self-knitted top not only looks beautiful, but also fits really well.
Combine Sizes with "Raglan from the Top Down "
Unfortunately, general tips for how and what to adapt in a pattern cannot be given here because it all depends on the way the upper part is constructed.
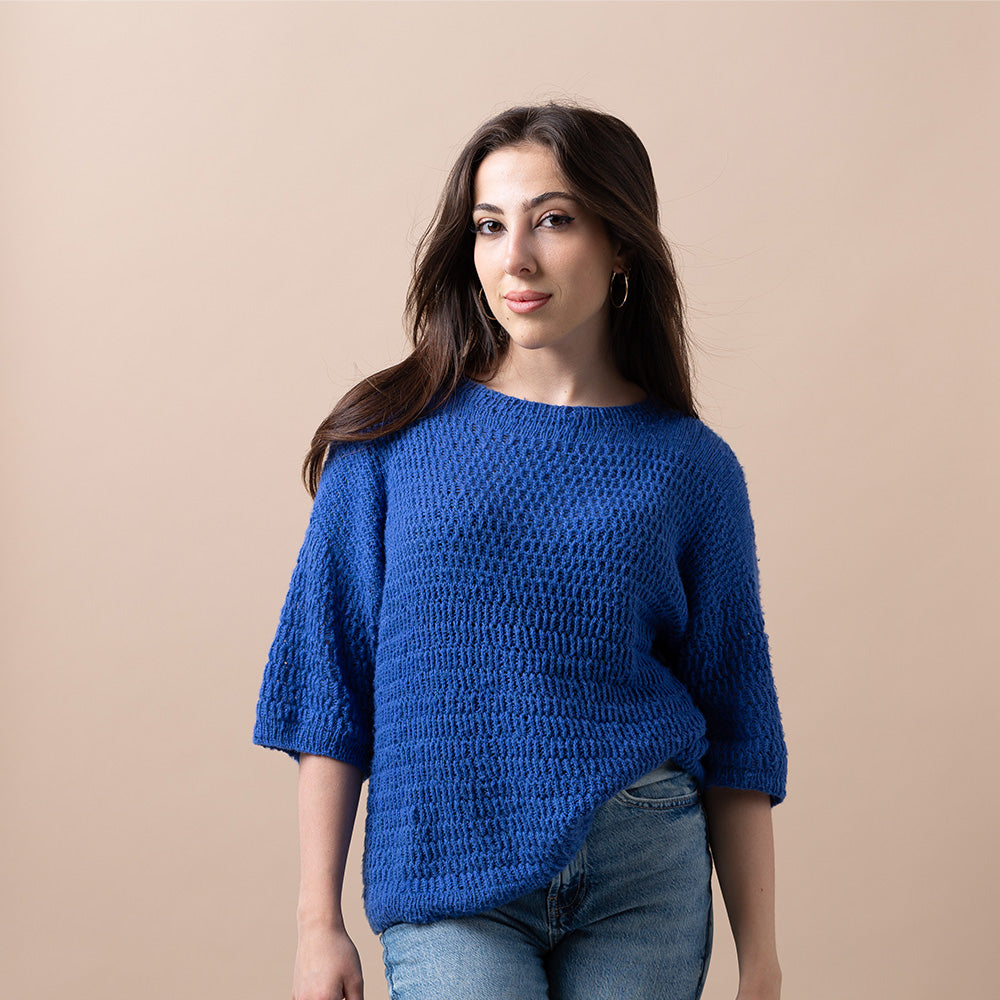
For our purposes, we will assume you are knitting a seamless, raglan, top-down pullover. Changes are relatively easy to implement, and you can check the fit from time to time as you knit. These tips also work pullovers with a round yoke. Pascuali patterns are usually knit from the top down.
A few modification tips:
If you have narrow shoulders and a full bust, you can cast on for the size that corresponds to the shoulder width and adjust the number of stitches to the desired chest circumference when putting stitches on hold for the sleeves: If you want to gain 20 additional stitches for the body from the armpits, for example, put 5 stitches per sleeve less on hold. This gives you 10 stitches more for the body. When casting on for the sleeves, you cast on 5 more stitches per armpit: This way the sleeves get their missing stitches back (and stay the same) and the body gets 10 extra stitches.
Particularly strong upper arms? Then it's the other way around: When putting stitches on hold for the sleeves, you can give them more circumference by not only putting the sleeve stitches on hold, but also "stealing" additional stitches from the body. This number of stitches is then additionally added when casting on for the armpit. The result: the number of stitches on the body remains the same and the sleeves are given additional width.
If you know how many more stitches you need, the whole thing is not difficult. Divide the number by four and “re-distribute” the stitches according to this value as described above.
The length of the body and sleeves can usually be adjusted without doing any calculations. Just try the piece on and decide if it's long enough. The only thing you have to be careful about is distributing the decreases evenly so you don´t end up with more sleeve stitches than planned for. Here, you can simply use the size in the pattern that comes closest to your own number of stitches on the sleeves.
As you can see, none of this is rocket science and can be done without great arithmetic skills.
If you want a pullover that fits perfectly, knowing your measurements is key. And if you can get the perfect piece by making small adjustments, then nothing stands in the way of knitting fun, right?


